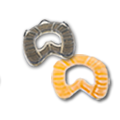
DOING it RIGHT with TERRAFLEX™ HORSE SHOES
A Step-by-Step Guide for the proper Hoof Trim, Nailing, and Gluing
Applications for TERRAFLEX™ shoes
TERRAFLEX™ Hoof Trimming, and Shoeing Applications are slightly different compared to the Conventional Hoof Trimming and Shoeing, although the work, in general, can be carried out with basic Farrier Tools and Skills.
TERRAFLEX™ Swift, and Safe Nailing Application
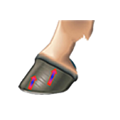
Prepare (clean) the horses’ hooves as usual as you would do for any examinations, trimmings, and/or shoeing applications.
Apply a flush even balanced hoof trim, and elevate the frog. Clean up the ridges and flares of the hoof capsule, and bevel slightly the edge. In an exceptional case, apply a diversified method.
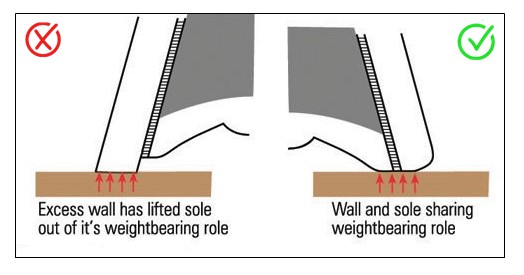
(Creating a bearing surface that allows even weight loading of the limbs helps to protect the musculoskeletal structures of the entire horse, statically, and dynamically, TERRAFLEX™ shoes are designed for an even loadbearing).
Please Note:
The transparency of the white hoof line through the shoe and the design of nailing grooves instead of holes ensures a safer and unrestricted No risk nail placement. Driving the nails through the shoe material affirms a stronger, more durable enforcement. It is not advisable to drill nailing holes.
Nail the shoe to the hoof using E5 nails for an average hoof, or an E4/E6 depending on the size and shape of the hoof.
(It is important that the nail head is not less or greater than approx. 4 mm (5/32 of an inch) in size to fit into the nailing groove of any TERRAFLEX™ shoes).
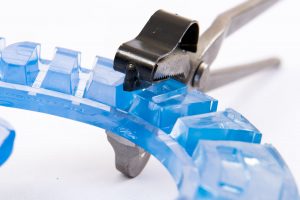
Countersink the nails precisely with our specially designed Nail Punch, and leave an approx. 2 to 3 mm (5/64 to 1/8 of an inch) nail length to enhance durability and stronger clinches. To hold the nail in place during clinching, preventing them from slipping back, use our specially designed Clincher Clip.
Do Not trim the clinch flush to the wall (or else you may lose the shoe), although tidy it slightly up.

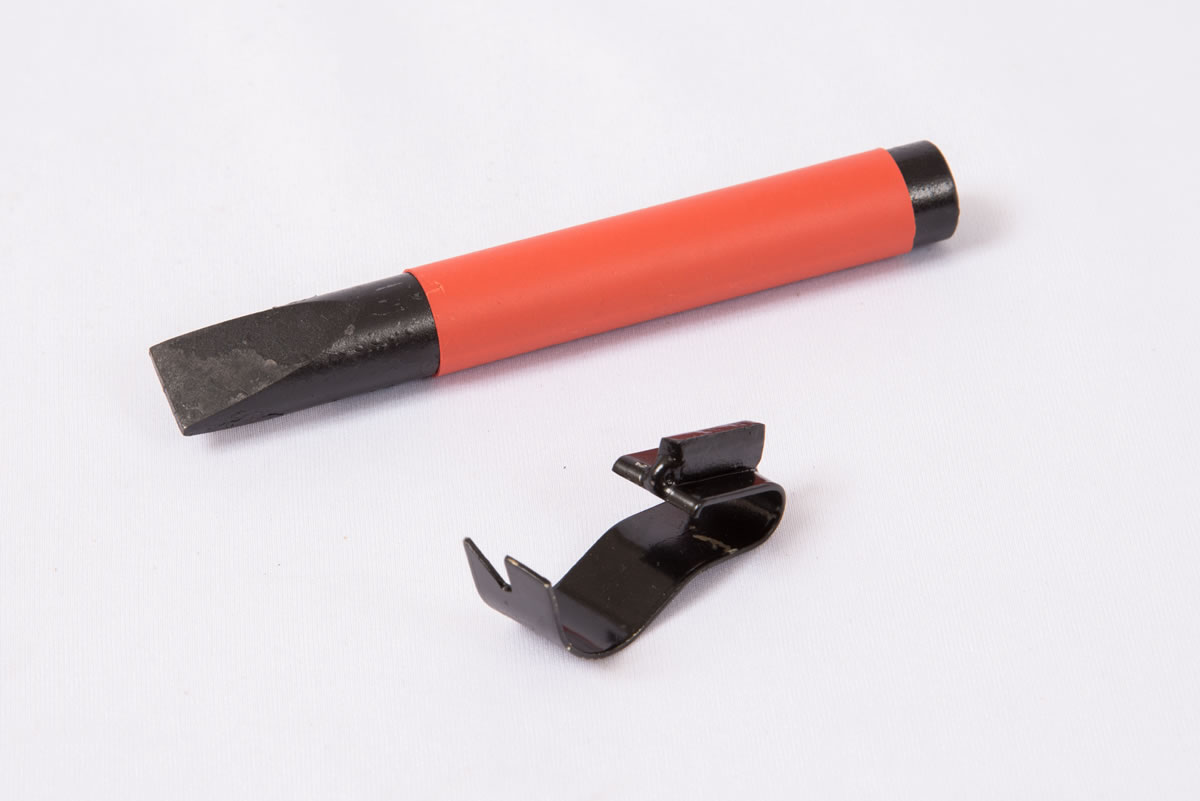
(Nail Punch and Clincher Clip Tools are available online)
After the nailing application is finalised, use a hoof nipper or grinding tool to remove any shoe excess, ensuring that the shoe exceeds the hoof wall by approx. 2 to 3 mm (5/64 to 1/8 of an inch), all around, giving the hoof the full-scale protection, as well allowing the hoof to expand/grow during the average trimming cycle.
(TERRAFLEX™ shoes are universal in design, allowing a wide variety of shapes for an easy, and fast shoeing application on either the front and/or rear hooves).
Remove each nail separately from the shoes with a Creased Nail Puller, Do Not pull the shoes off the hoof which is common practice with conventional shoeing methods.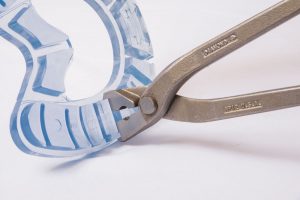
(Farrier Tools are available online)
TERRAFLEX™ No Fuss No Guss Gluing Application
Prepare (clean) the horses’ hooves as usual as you would do for any examinations, trimmings, and/or shoeing applications.
Apply a flush even balanced hoof trim, and elevate the frog. Clean up the ridges and flares of the hoof capsule, and bevel slightly the edge. In an exceptional case apply a diversified method.
(Creating a bearing surface that allows even weight loading of the limbs helps to protect the musculoskeletal structures of the entire horse, statically, and dynamically, TERRAFLEX™ shoes are designed for these).
Place the shoe against the hoof, and trace the hoof line with an ink marker onto the shoe. Use a hoof nipper or grinding tool to remove any shoe excess including all shoe clips, ensuring that the shoe exceeds the hoof wall by approx. 2 to 3 mm (5/64 to 1/8 of an inch) all around, giving the hoof the space to expand/grow during the average trimming cycle.
(TERRAFLEX™ shoes are universal in design, allowing a wide variety of shapes for an easy, and fast shoeing application on either the front and/or rear hooves).
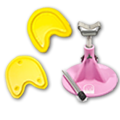
(FLEXICUFFS™ and Accessories are available online)
Roughen the glossy side of the shoe with sandpaper to allow a better grip for the glue to set on.
Scale the FLEXICUFFS™ around the shoe, mark the starting and ending point to the side of the shoe and cut it to the desired size.
If you intend to screw the cuff onto the shoe, align the cuff to the shoe edge, and predrill a 2 or 3 mm (5/64 or 1/8 of an inch) hole through the cuff into the shoe edge, and screw the cuff on.
If you intend to heat-weld the cuff onto the shoe, align the cuff to the shoe edge. Attach a 10 mm (25/64 of an inch) nozzle to the heat gun and hold it between the cuff and shoe. Set the temperature to approx. 600 C (1112 F), when the material starts melting start slowly rolling the shoe onto the cuff.
Check the prep shoe fit and the cuff length before applying any glue, use a scissor to shorten the FLEXICUFFS™ finger/tab if they touch the coronary hoof band, or if you wish for a different formation.
Please Note:
Make sure that the hoof and shoe/cuff application is clean, and reasonably dry before you apply any glue to fit the application to the hoof.
Dispense a small amount of glue around the internal corner of the shoe and cuff. Fit the application to the hoof and hold it firmly (not pressing) against the hoof for approx. 1 ½ minute before letting the hoof go. Placing the hoof into a cradle will lessen the workload.
Continue the application by bending each cuff’s finger/tab back and applying a thin strip of glue from the top to the bottom. Remember you’ve got 60 to 90 seconds of work time only. Wrap the duct/masking tape around the whole application to hold it in place for the next approx. 5 minutes to bond.
We advise keeping your horse still or in a confined area stopping it from running around for approx. 5 to 6 hours after the application. The best results were achieved if the application is done a day before the ride as the glue is then fully cured.
Our 3M Superfast Glue as advertised online gives you a 60 to 90 seconds work time and does not mind if the reasonably dry hoof contains a small amount of moisture, further the 3M superfast glue can also be used as a filler on hooves for splits and cracks. One (1) 3M superfast adhesive combo kit as advertised online is enough for one pair (2) of shoes.
Remove the finger/tabs of the FLEXICUFFS™ from the top of the hoof wall by placing the blade of the hoof knife between the finger/tab and capsule, and push the knife slowly downwards to the end.
Likewise, you could use a nail buffer or a similar tool, then unscrew the cuff from the shoe if the shoe is worn out, and re-apply the cuff to the new shoe.
Hints and Tips
FLEXICUFFS™ come in one (1) size only to fit any shoe size, they can be either be glued, heat welded, and/or screwed onto the side of the shoe, however, we do recommend screwing the FLEXICUFFS™ onto the shoe, this way you can easily remove the cuff from the shoe without damage, and re-use them on the next pair of shoes.
(Screws and Drill combo packs are available online)
TERRAFLEX™ horseshoes are excellent for identifying and fixing trim imbalances through the wear patterns on the shoe.
TERRAFLEX™ horseshoes are very durable and often can be reset twice or a third time, however, it is not advisable to do so if the shoe surface is intense, and/or unevenly worn.
Please view the Videos below to assist you with the application and information about our products.

Shop Now
Polyurethane Horse Shoes
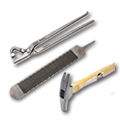
Tools
Shop now for our Tools
Accessories
Shop now for Accessories
Shoe Types
Choose the correct shoe
Suitability
suits just about all activities
Benefits
Minimise the risk of injury and lameness

News & Information
Find out more about our horse shoes

Instructional Videos
How to apply and remove shoes.


